Installing the Valet 712t Remote Keyless Entry in a 1987 Corvette

Firstly, I need to give credit where credit is due: http://batee.com/corvette/keylessentry/index.htm  He did all the heavy lifting and I thank him.  That said, there are some differences:
This applies to my '87 Coupe.  I understand the earlier years had different power door lock circuitry, and it all comes out at a connector under the steering column.  No need to go into the doors.

Now some free advice.  Free advice is worth exactly what you pay for it.

Tools required (beyond typical hand tools)

Materials required

Before you start

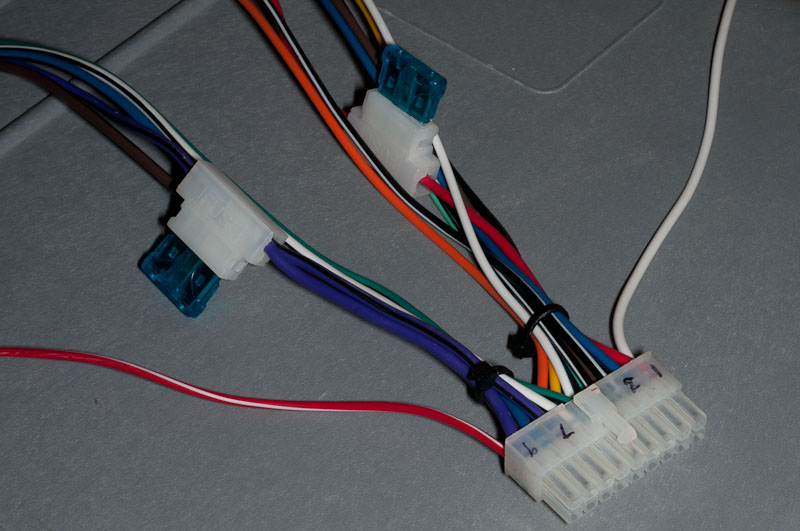
The wires from the Valet 712t

The "blue" wires at the bottom are really violet.  My camera (and most others) have problems capturing that end of the spectrum.  Note that the violet and violet/blue wires are connected where they go into the fuse holder.  Also note that I numbered the wires with a Sharpie, and I bundled the wires based on where they were going.

The wires from the Valet 712t

Removing terminals from the TDM socket

Terminology:
The terminals are double-latched. Let's call the side of the socket that has the latch the "bottom", and the opposing side "top".  The top of the connector body has a lid hinged on the wire end. A small screwdriver at the non-wire end will pop the lid open. The lid has teeth that hold the individual terminals in place, and I think this is the primary retention. Second, the terminal has a locking tang on the opposite site from the lid, which I think is pretty much just to hold the terminal in while the connector body is being assembled. Insert the largest rectangular pick on the Lisle tool between the terminal and the bottom side of the connector body and push pretty hard.

Remove only one terminal at a time, and remember where it came from.  Hint: Positions E and L are unoccupied.

Be sure to reform the locking tang.

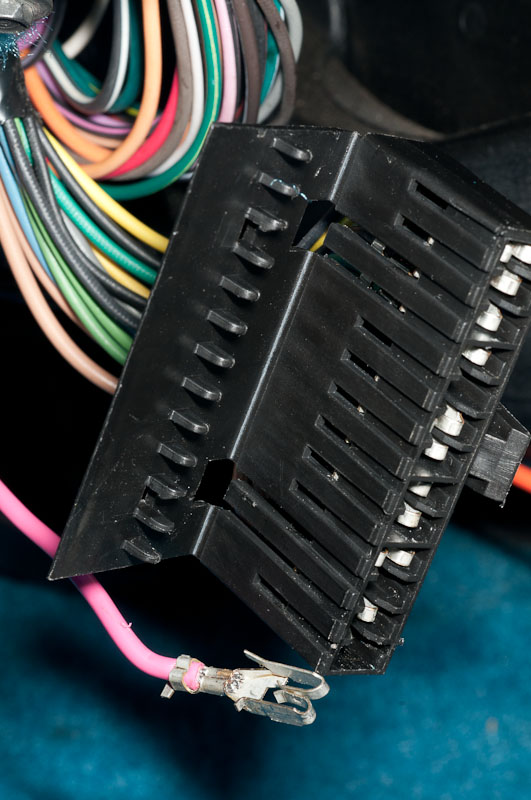
Here's a picture:

Theft Deterent Module plug

Note the teeth in the lid, and the locking tang on the loose terminal (pointing to the right in this picture).

Connections

Note that the TDM connector has more than one Black and Yellow wire.  Check the letter codes.

Note that I haven't yet wired up the hatch release relay, so those connections are conjecture on my part.

The "Connect to" is a tap in all cases except the Lt. Blue and Black wires in the door, which you cut and splice. The greyed out text is stuff I considered doing but didn't
Valet 712t HarnessVKE-1000 HarnessWire ColorPurpose Connect To
H1/1H1/11Red+12V constant to unitTDM wire N (pink, 14 ga.) (+12V always hot)
H1/2n/aBlueSecond (passenger) unlock outputNothing
H1/3H2/BBlack/WhiteTurn on interior lights (one side of SPST relay)TDM wire A (Black, 22 ga.) (Ground) (??  I think this really needs to go to the door jamb switch White (20 ga.))
H1/4H1/4Black/White Turn on interior lights (one side of SPST relay)TDM wire J (Lt. Blue, 20 ga.) (?? I  think this should go to Ground)
H1/5H2/DGreen/BlackLock Relay, commonSwitch side of Black wire to pin D of switch in door (12/14 ga.) (I used  Blue to extend)
H1/6 H2/CWhite/BlackLock Relay, normally connectedDoor jamb side of Black wire to pin D of switch in door (12/14 ga.) (I used Brown to extend)
H1/7H2/EViolet/BlackLock Relay, normally disconnectedOrange/Black wire in door (+12V always hot) (12/14 ga.) (I used violet to extend)
H1/8H2/GBlue/BlackUnlock Relay, commonDoor jamb side of Lt. BLue wire in door (12/14 ga.) (I used Yellow to extend)
H1/9H2/HVioletUnlock Relay, normally disconnectedViolet/Black wire on 712t/VKE-1000 (+12V always hot) (already connected by the mfg.)
H1/10H1/2WhiteParking light flashCoil (86) on parking light relay
H1/11H1/8BlackChassis groundTDM wire A (Black, 22 ga.) (Ground)
H1/12H1/10BrownHornTDM wire F (Black, 22 ga.)
H1/13n/aLt. Green/BlackFactory Alarm Disarm (ground pulse on unlock)??
H1/14H1/3White/BlueAux channel 2Nothing
H1/15H1/9YellowSwitched ignition TDM wire K (Yellow, 22 ga.)
H1/16H1/1OrangeArm TDM (grounded when armed)TDM wire H (Lt. Green, 22 ga.) (Disarm input, ground pulse disarms)
H1/17H2/FBrown/BlackUnlock Relay, normally connectedSwitch side of Lt. Blue wire in door (12/14 ga.)
H1/18H2/ARed/WhiteHatch Release (pulses a ground to release)Coil (86) on hatch release relay
n/aH1/12Red/WhiteHatch Release
n/aH1/6GreenNot connected
n/aH1/6BlueNot connected
n/aH1/7VioletNot connected

Splicing

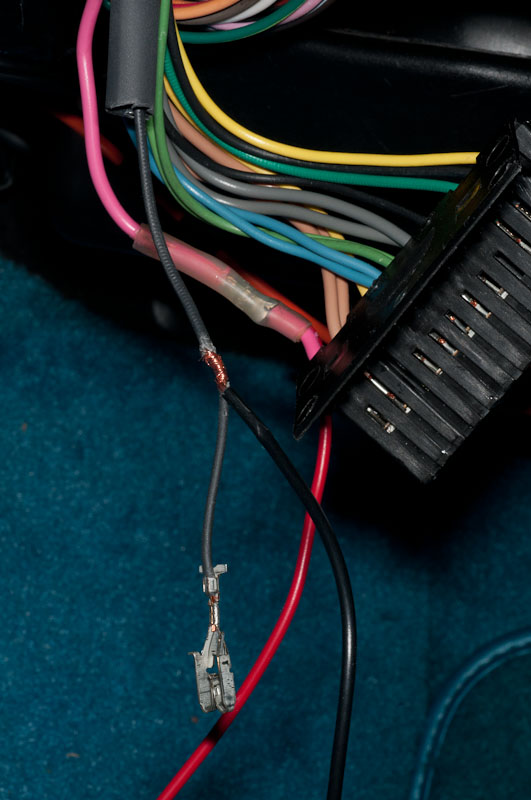
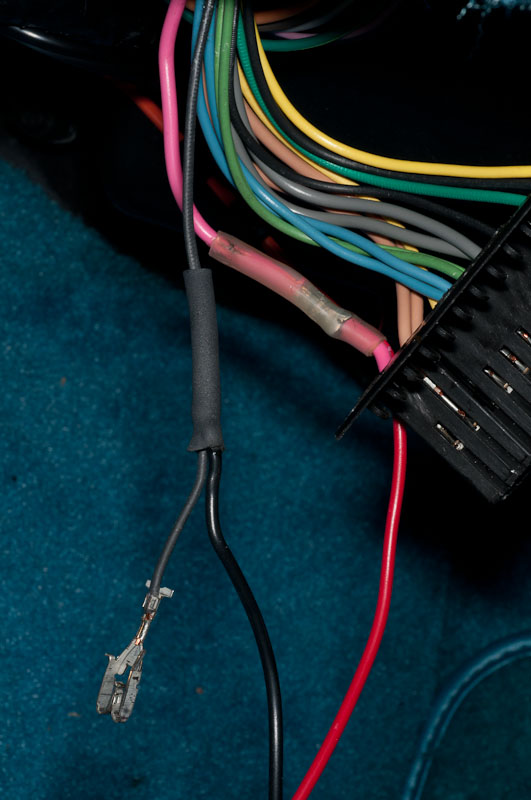
Here's how I like to make splices, but there wasn't always clearance to do this, esp. with the parking light relay.
Splice, not yet soldereda
Splice, soldered and heat shrunk

Fishing the wires to the door

I used a "grabber" , Lisle 31140 or KD Tools 2391.  Loosen the metal bracket on the door jamb that holds the rubber bellows in place.  Do not remove the screw completely or you'll have a heck of a time getting it back in.  Put about a 10 degree bend in the grabber, as close to the end with the teeth as you can.  This, with a bunch fiddling and cussing will get it around the Bose speaker boxes.  With a finger, finesse it out into the door jamb area, and grab a piece of 1/8" nylon line, pull the nylon into the door, then use the nylon
to pull the wires through.  Repeat from the instrument panel side.  I put 3/8" corrugated wire loom over the wires on the door side, 1/2" on the instrument panel side.  I think this is important on the door side to keep a wire from getting tangled in window winder gears -- the loom should be too big to get tangled.  On the instrument panel side it's mostly cosmetic.

Once the door wires are pulled through, splice them at the door end, and then fish them through to where you are going to mount the unit and solder them to the wires on the unit.  Cut the wires on the unit short (3ish inches) as they are lighter gauge than the door wires.

Mounting the unit

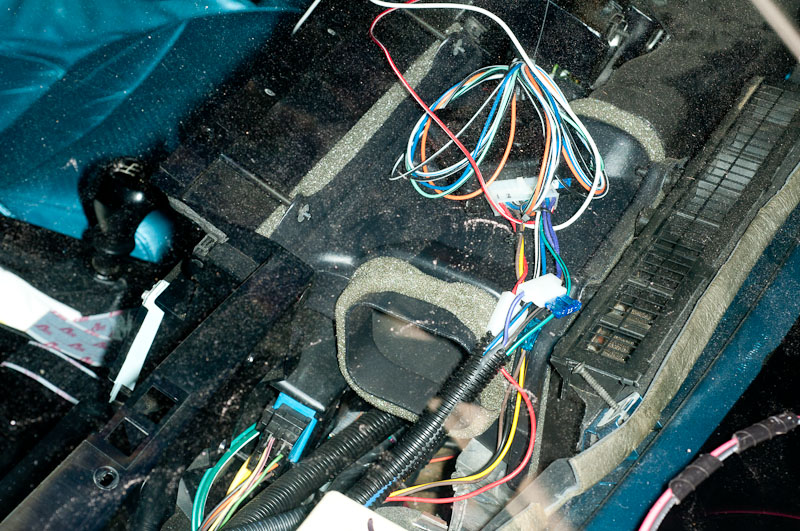
I put the unit on top of the heater box with Velcro.  I'm not 100% happy with that hot location, but the Velcro should provide some insulation.  Note that I have the passenger's side heater duct out.  I pulled it to make it easier to fish the wires, and discovered that the TDM plug was not fully seated.  So check that TDM plug.

Mounting the unit

Parking light relay

You only need to run a single wire over the the far driver's side of the dash.  
Relay PinPurposeConnect to
85One (typically hot) side of coilLight switch Orange (hot) (18 ga.)
86Other (typically ground) side of coilValet 712t H1/10 (White)
87One (moveable) side of contactsPin 85 (hot)
30/51Other (fixed) side of contactsLight switch Brown (parking lights) (18 ga.)

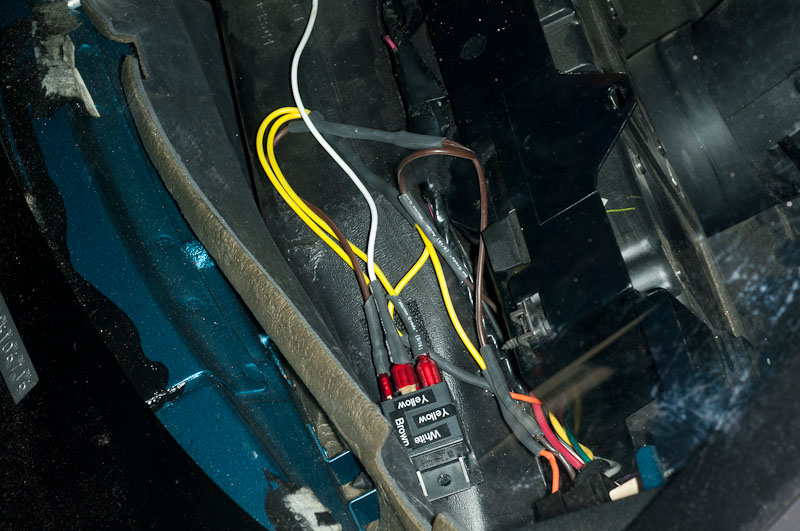
Here's what it looks like, before everything is Tie-wrapped up.  I used a bit of Velcro to hold the relay in place.  There was no clearance to do my normal splices, so I cut the wires,
soldered on a 6" extension, and then spliced to that.  Also note that I labeled the relay connections.


Parking light relay

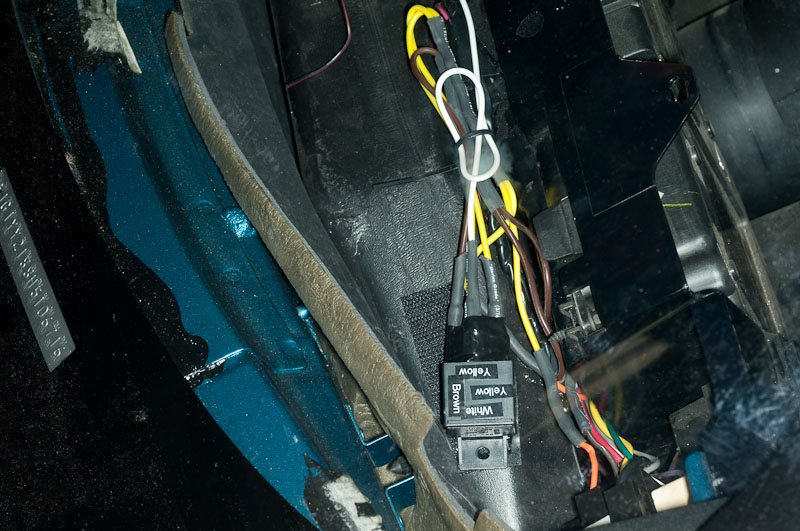
And here's what it looks like all bundled up.  Note that I took a turn of electrical tape around the connectors  because
there was some bare metall showing.

Parking light relay

LED and Valet switch

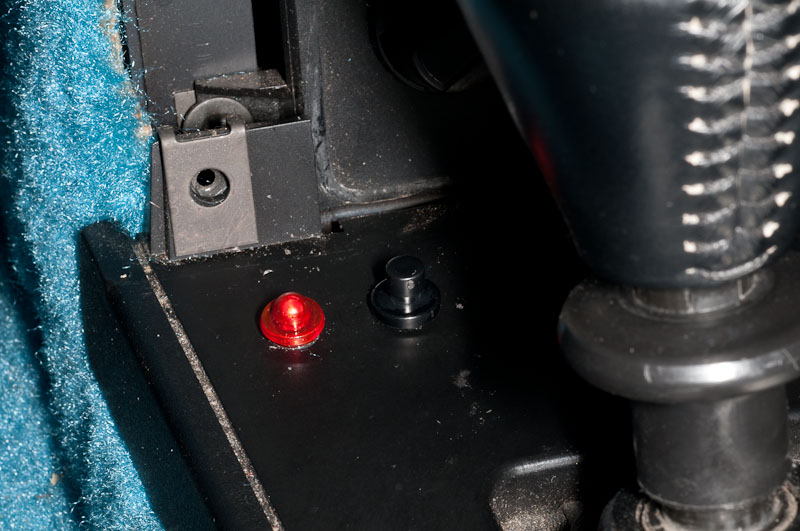
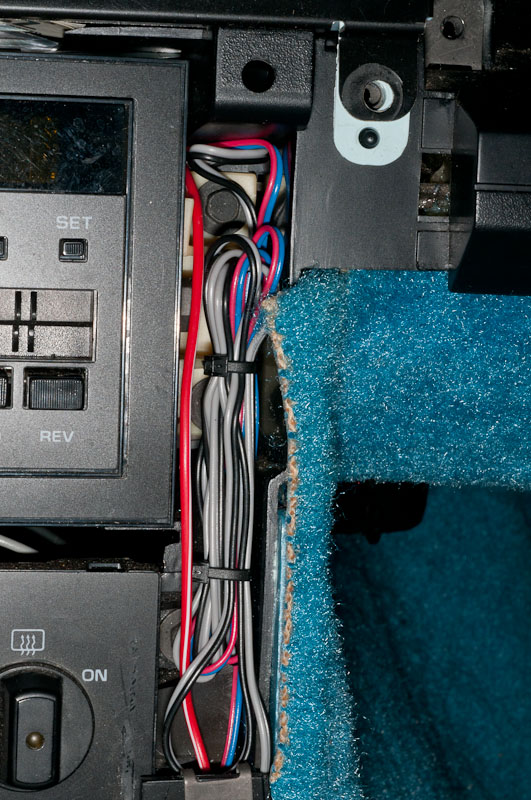
I mounted the LED and Valet switch on the front driver's side of the console.  This is not a perfect location -- there's not really enough clearance behind, but it was the best I could come up with.  The wiring was routed up the passenger's side of the radio.
LED and Valet switch

LED and Valet switch wiring

Hatch release relay

You COULD wire Valet 712t H1/18 directly to hatch release switch Tan, and the hatch would open when you press and hold the Aux botton.  It would also open if you are running down the freeway and your kid plays with your second set of keys.  By wiring in the relay, you have to have the parking brake set or ignition off (manual transmission) or be in park or neutral (automatic transmission) for the Aux button to open the hatch.

Note that I haven't actually hooked this up yet, so this is conjecture on my part.

Relay PinPurposeConnect to
85One (typically hot) side of coilGlove box (in console) light orange (18 ga.)
86Other (typically ground) side of coilValet 712t H1/18 (White) (hatch release)
87One (moveable) side of contactsHatch release switch ???? (?? ga.)
30/51Other (fixed) side of contactsHatch release switch Tan (22 ga.)

Before you button things back up